A Practical Intro to Node.js
A practical intro to Node.js where we get hands-on and experiment with the asynchronous and event-drive aspects of the popular single-threaded runtime!
At its core, Node.js transforms JavaScript, a language once confined to the browser, into a formidable tool for server-side development. It's more than just a runtime; it's a gateway to building efficient, asynchronous and event-driven applications that can handle thousands of connections simultaneously without breaking a sweat.
There are a number of reasons that Node.js is a common choice for building web applications today
- Developer-friendly: Starting with Node.js as your backend enables developers to write both their frontend, browser-based, code and server-side code in the same language – JavaScript! This simplifies development and allows developers to be more productive.
- Great ecosystem: Additionally, the JavaScript ecosystem, with it's extensive tooling, and it's massive community, greatly boosts the developer experience with tons of resources, libraries, and frameworks to pull from when building applications.
- Powerful architecture: Lastly, because Node.js leverages an asynchronous, event-driven architecture, it's well-suited for building web servers, real-time communication systems, and robust APIs.
Asynchronous, event-driven architecture?
That seems...awfully buzz-wordy. Let's try to understand why this matters before we dive in.
I/O-bound vs. CPU-bound operations
In computing, there are two common types of ways to describe the bottlenecks or limiting factors of computational operations:
- I/O-bound operations: Operations that are constrained by the speed of the inputs and outputs of a given internal or external system, and can usually benefit from asynchronous processing.
- CPU-bound operations: Operations that are constrained by the speed of the CPU, and can usually benefit from parallel processing and multi-threading.
Common I/O-bound operations are things like:
- HTTP requests
- Database queries
- File reading and writing
- Network data transfer
Common CPU-bound operations are things like:
- Image and video processing
- Machine learning
- Encryption and cryptography
- Data analysis
The asynchronous, non-blocking part
In most traditional programming languages, such as Java and Python, I/O-bound operations are handled in a blocking, synchronous manner, meaning that each individual operation must be completed before the moving to the next.
However, with Node.js, since it is "non-blocking", it handles these I/O-bound operations in an asynchronous manner, meaning that it doesn't wait for an individual operation to complete before it begins processing another one.
While it's true that other programming languages offer asynchronous capabilities, similar to that of Node.js, it's important to note that the entire Node.js runtime is built around asynchronous, non-blocking operations from the ground up.
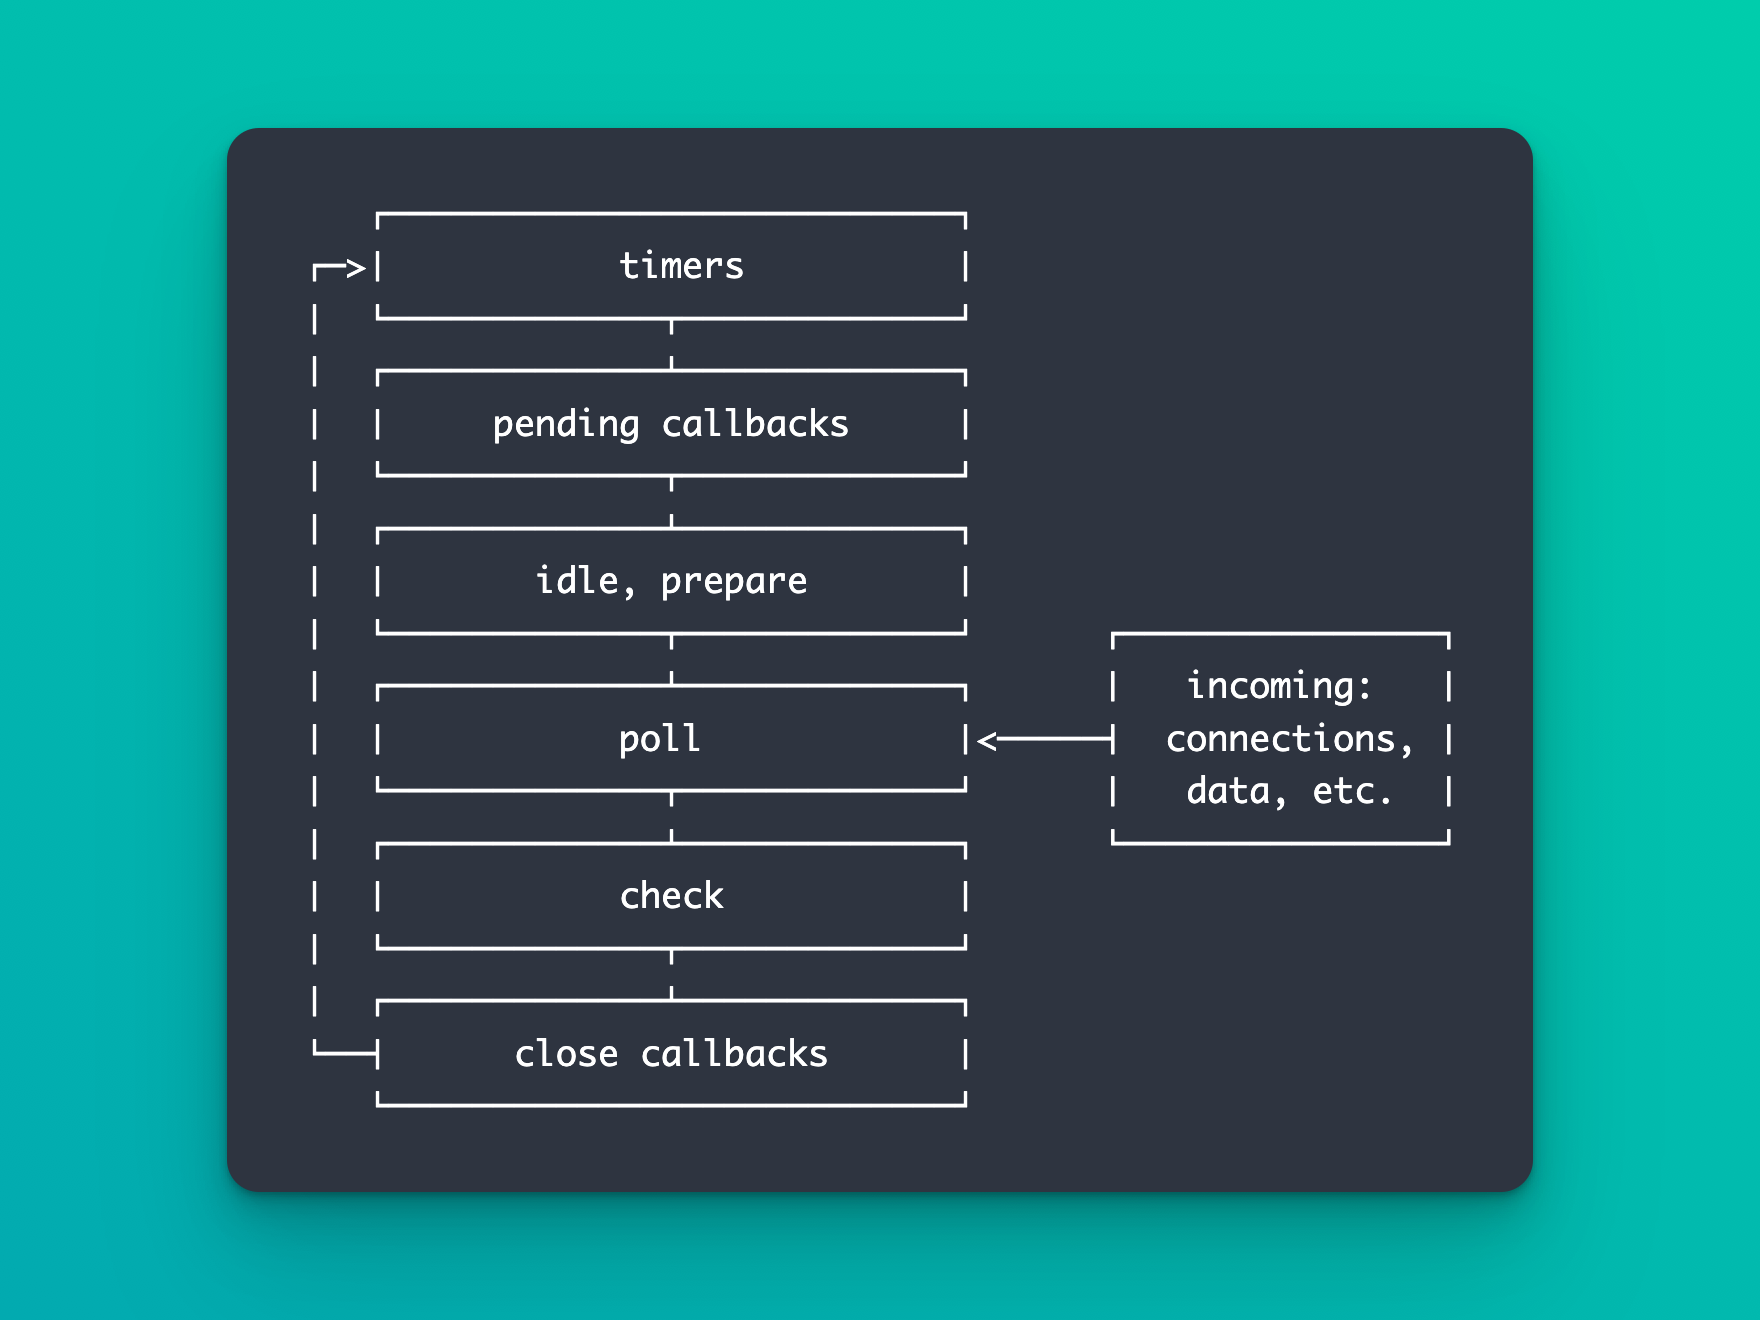
This non-blocking behavior is achieved via Node's internal Event Loop mechanism, which enables the concurrent execution of tasks and offloads them to the system's kernel whenever possible.
Because of this, it makes Node.js a straightforward, lightweight candidate for I/O-heavy applications as opposed to other more complicated, resource-intensive multi-threaded runtimes.
The event-driven part
In Node.js, "events" are the lifeblood of the runtime. Many operations emit events to signal different conditions, states, and other information to various parts of the system.
Events tell the Node.js runtime that something has happened, and anything that cares to know about these events can subscribe to them so they can react in some way when they receive those events.
In addition to the internal usage of events, Node.js offers a robust event API that allows developers to write clean, maintainable code. This can be achieved by organizing different functionalities into event listeners, which are triggered only when relevant events occur. This leads to a system that is not just efficient in terms of performance, but also in terms of its architecture, making it easier to develop, test, and maintain.
Common events that are emitted
- HTTP events such as
request,connection, andclose - File system events such as
changeandrename - TCP socket events such as
connect,data, andend
So for example, an HTTP server might subscribe to the request HTTP event in order to know how to handle an incoming HTTP request.
Custom events can also be defined by developers too, using the EventEmitter class.
Here's a basic example of emitting a custom event, and a custom event handler that reacts to said event whenever it's emitted:
const EventEmitter = require('events');

// Create a class that extends EventEmitter
class CodeSnippetSubscriberEmitter extends EventEmitter {}

// Initialize an instance of CodeSnippetSubscriberEmitter
const emitter = new CodeSnippetSubscriberEmitter();

// Define a listener that subscribes to the 'newSubscriber' event
emitter.on('newSubscriber', (email) => {
    console.log(`You're super cool, thanks for subscribing ${email}!`);
});

// Emitting the 'newSubscriber' event with different emails
emitter.emit('newSubscriber', '[email protected]');
emitter.emit('newSubscriber', '[email protected]');
emitter.emit('newSubscriber', '[email protected]');At a very high-level, the Node.js Event Loop handles tasks like this:
- An I/O-bound operation is retrieved and initiated. This could be reading a file, querying a database, or making a network request.
- As the operation is initiated, a corresponding callback function is registered with it that is designed to be called when the operation is complete. Node.js does not wait for the operation to finish; it immediately moves on to handling the next operation in line.
- Node.js polls an internal queue for any completed callbacks, and if it finds any, it invokes them, which in turn emits the operations corresponding
completeevent. - The callback then completes the operation in some way, whether that's returning a response to the client, processing data, starting a new asynchronous operation, etc.
A practical example
Let's say we've setup a Node.js server, and it receives 3 HTTP requests, all of them at almost exactly the same time.
- Request #1: downloads a large file from our server
- Request #2: loads the current user's data
- Request #3: fetches 500 customer records from our database
How the Node.js event loop handles these requests
Here's a simplified overview of how the 3 requests above would be handled by a Node.js runtime.
- The Node runtime initiates the I/O operation for Request #1: The process kicks off the large file download from our server, then registers a callback for this operation, and proceeds to Request #2
- Node initiates the I/O operation for Request #2: The process begins querying the database to fetch the data for the currently logged in user, registers a callback, moves on to Request #3
- Node initiates the I/O operation for Request #3: The process begins querying the database for 500 customer records, registers it's callback for the operation.
- Callbacks are invoked: As each I/O operation completes, its corresponding callback is invoked, and an Event is emitted.
The order of these callbacks depends on how long each I/O operation takes and is not necessarily in the order the requests were initiated. For instance:
- Request #2 will likely complete first since it's only fetching a single user record from the database.
- Request #3, fetching the 500 customer records will likely complete shortly after Request #2.
- Request #1 will likely complete last, since it involves downloading a large file. - Request completion: Each callback handles the result of it's corresponding I/O operation, such as sending the response back to the client
Because of Node's non-blocking architecture, all 3 requests are handled concurrently. This means that the server is not blocked, for example, by the large file download of Request #1, and can proceed to handle Requests #2 & #3 simultaneously.
Concurrency vs. Parallelism
An important distinction to make is that Node's ability to manage multiple operations concurrently does not mean the operations themselves are being executed in parallel.
Node.js itself cannot execute multiple tasks simultaneously. However, the "magic" of Node lies in its ability to orchestrate and delegate multiple tasks efficiently.
Concurrency: Imagine you're a chef in a kitchen. You're cooking several dishes at the same time. You start cooking one dish, and while it's simmering, you begin preparing another dish. You're managing multiple dishes, but you're not actually standing in front of each of them, cooking them all at the exact same moment. This is like concurrency in computing - handling multiple tasks one after the other or switching between them.
Parallelism: Now imagine you have four chefs in the kitchen, and each chef is cooking a different dish at the same time. All the cooking is happening simultaneously. This is like parallelism in computing - multiple tasks are actually being done at the same time, often using more than one resource (like multiple chefs or, in computing, multiple processors).
Let's dive into some code
Getting started with Repl.it
- Visit this link: https://replit.com/@TimWheeler/tutorial-node-intro
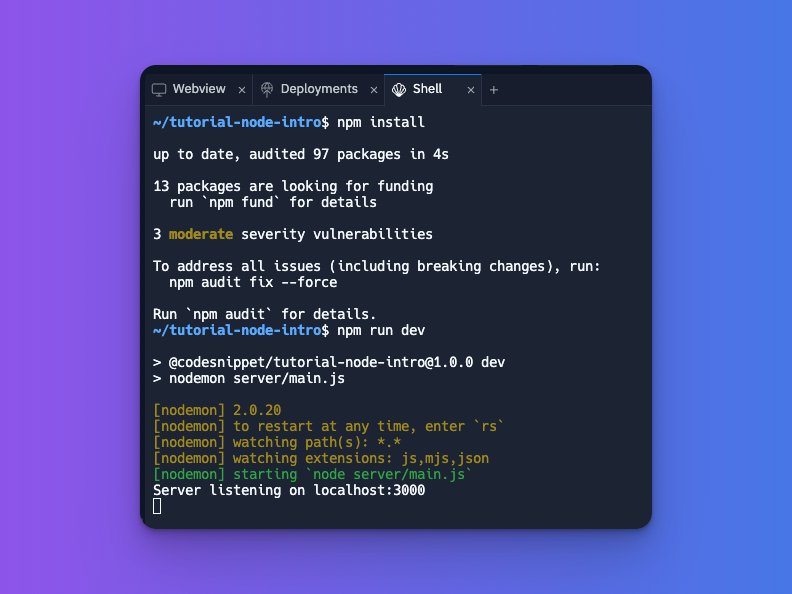
- From the "Shell" tab run
npm installfollowed bynpm run dev - Switch back to the "Webview" tab to view the project UI
Getting started with the source code from GitHub
- Clone the repo to your machine by running:
git clone [email protected]:CodeSnippetHQ/tutorial-node-intro.git - From the root of the project run
npm installfollowed bynpm run dev - From a browser, open
http://localhost:3000
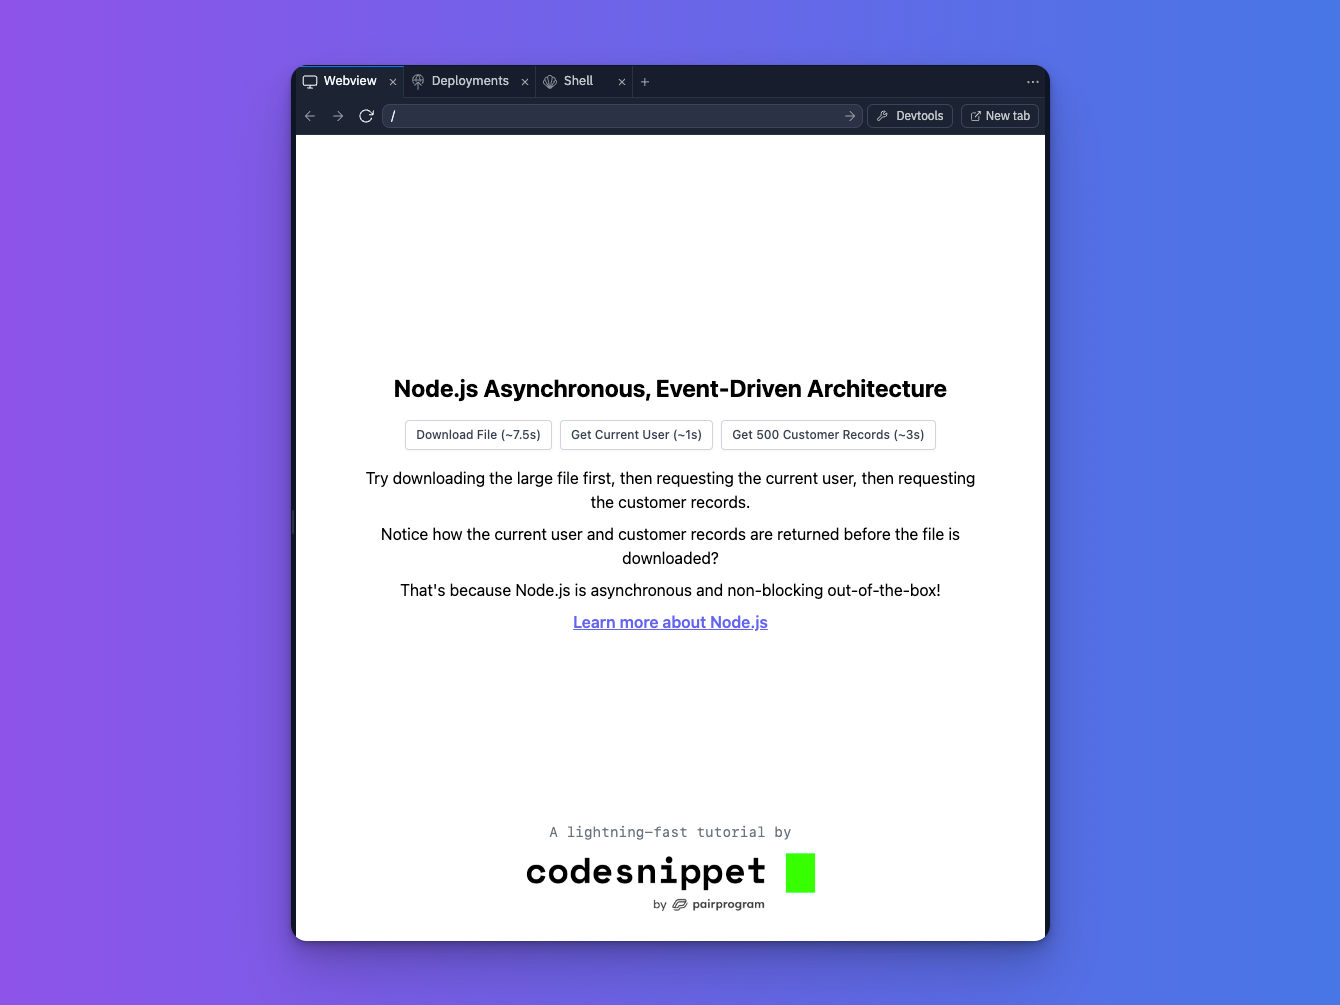
Swap over to the UI
Once you've ran the commands above, visit the "Webview" tab in the replit, or visit http://localhost:3000 from your browser if you're running locally.

Sending network requests
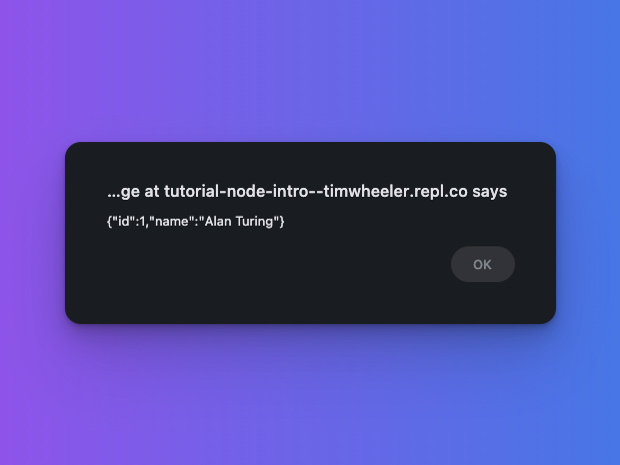
Next up, click between the three buttons from left to right and they will fire off actual API requests to the server (located in server/src/main.js).
The requests mimic our practical example from earlier in the post. To recap:
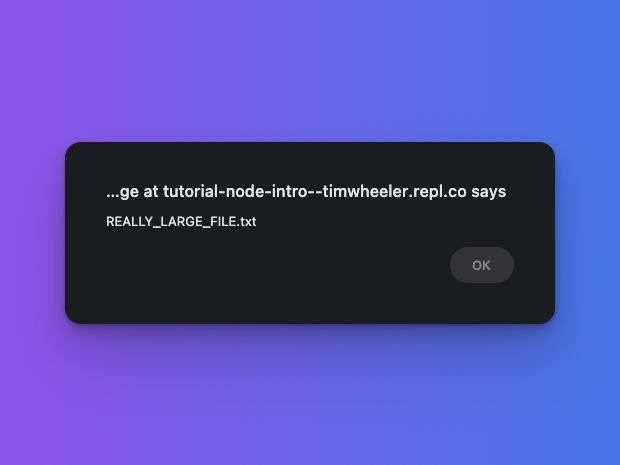
- The 1st request simulates a large file download, taking ~7.5s
- The 2nd request simulates getting the current user's info from the database, taking ~1s
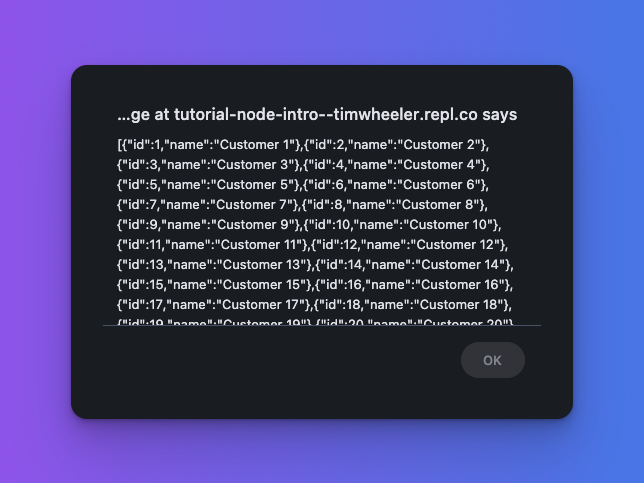
- The 3rd request fetches 500 customer records from the database
You'll notice though, that when you click the requests from left to right, they don't return in that order, they return in the order in which they're completed, so in this case, the order is:
- Request 2 (current user data, ~1s)
- Request 3 (customer data, ~3s)
- Request 1 (large file download, ~7s)
You can also see in your terminal where the server is running some log output that confirms the order in which the requests were returned from the server, and roughly how long they took.
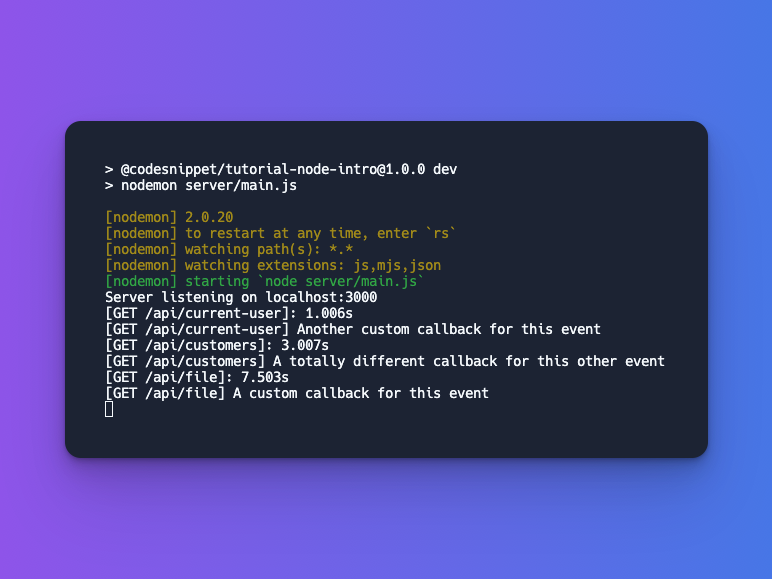
Notice too, that in addition to some logs showing the response time for the requests, there are also some logs from a custom event emitter which you can see in server/src/main.js:
import EventEmitter from 'events';

const eventEmitter = new EventEmitter();

eventEmitter.on('myCustomEvent', (customCallback) => {
    customCallback();
});

// ...

app.get('/api/file', async (req, res) => {
    // ..
    eventEmitter.emit('myCustomEvent', () => {
        console.log("[GET /api/file] A custom callback for this event");
    });
});
Notice that the we're passing in a customCallback to our emitter arguments that gets invoked anytime myCustomEvent is emitted.
Wrapping up
We've learned quite a lot in this short tutorial! I hope you had some fun and learned a few things along the way.
Just to recap, we covered:
- The reasons why Node.js is a popular choice for a backend server
- A bit about the asynchronous and event-driven aspects of the Node.js architecture
- The differences between I/O-bound and CPU-bound operations
- How to emit custom events in Node.js
- A high-level overview of the Node.js Event Loop
- The differences between concurrency and parallelism in computing
- Experimenting with some actual Node.js code that illustrates the above!
What's next?
If you enjoyed this tutorial, I encourage you to share your thoughts and learnings with our helpful community of lifelong learners over at pairprogram.com where we build great coding habits and learn new technical skills together!
Help us improve our content