Wikipedia API Tutorial
Here's a crash course on APIs using the Wikipedia API. Get a grasp on how to use APIs for your application.
What exactly is an API? API stands for Application Programming Interface, and simply put, it allows your application to work with other applications, usually in the form of JSON data.
Using the Wikipedia API
Let's say that you wanted your web application to pull in data from a source like Wikipedia. With an API, we can programatically pull the information right from Wikipedia, and format it to fit our project, app, or website nicely - only showing the information that we want.
First, let's setup our Wikipedia API endpoint.
Woah, woah, woah. Slow down! What's an API endpoint? I'm so glad you asked! An API endpoint is essentially the address of the particular data that we want. So Wikipedia, being the great organization that it is, has put their API out into the wild, and people like us can request data from it's different endpoints.
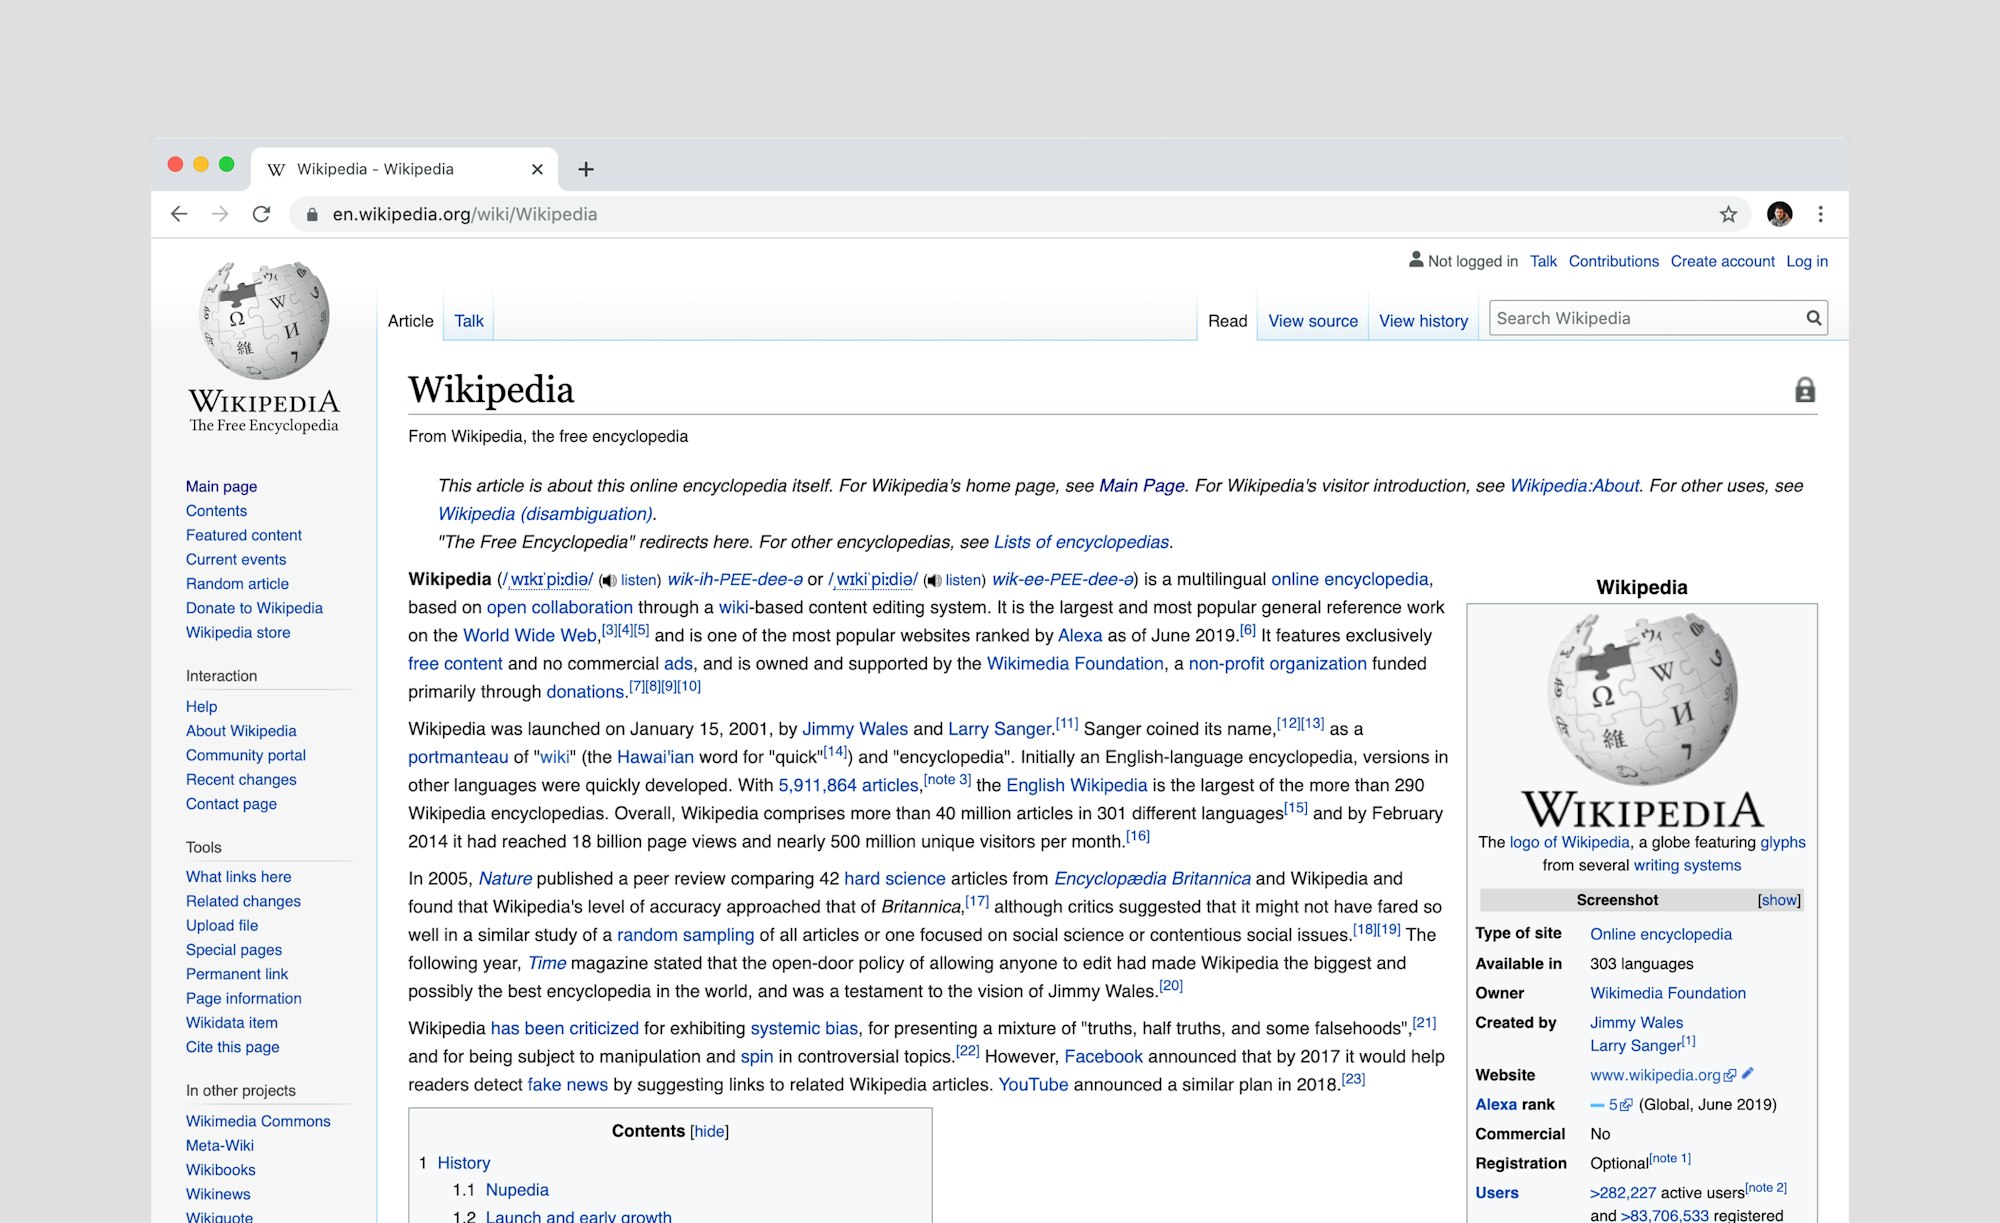
For this example, we will pull in Wikipedia articles about the New England Patriots.
Here is what our endpoint looks like:
https://en.wikipedia.org/w/api.php?action=query&origin=*&format=json&generator=search&gsrnamespace=0&gsrlimit=5&gsrsearch='New_England_Patriots'
Copy & paste this url 👆 into your browser 💻
Don't worry too much about the details and inner-workings of the URL above right now. Click here to see what our endpoint actually looks like.
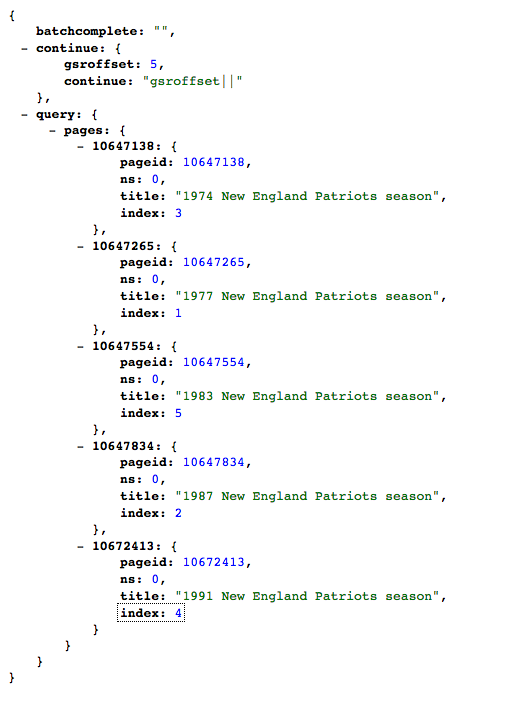
You should see something like this:

🔥 TIP: Download a JSON viewer browser extension
In particular, I use a Chrome browser extension that takes that ugly JSON mess 👆 and makes it look alot better 👇:
To learn more about creating your Wikipedia API endpoint, visit the Wikipedia API docs: https://www.mediawiki.org/wiki/API:Query.
Next we need to setup a connection to Wikipedia's server.
There's a few ways to do this. In this example we will be using an XMLHttpRequest, which despite the name, can be used for more than just XML data. XMLHttpRequest's allow you to retrieve data from a server without needing to refresh the page and they're very popular in ajax (asynchronous) programming.
Create the HTTP request method
var xhr = new XMLHttpRequest();
Create a variable for our Wikipedia API endpoint
Be sure to include the &origin=* parameter in your endpoint to prevent any CORS issues.
var url = "https://en.wikipedia.org/w/api.php?action=query&origin=*&format=json&generator=search&gsrnamespace=0&gsrlimit=5&gsrsearch='New_England_Patriots'";
Open up our connection to the server
In this case, we will use an HTTP GET method as we are getting the data, as opposed to posting, or deleting, among other HTTP methods. Will will then pass in our url variable that is storing our endpoint. Lastly, we will set the option for our request to be aynchronous to true.
// Open a new connection, using the GET request on the URL endpoint
// Providing 3 arguments (GET/POST, The URL, Async True/False)
xhr.open('GET', url, true);
Once we've retrieved our XML Request, convert it to JSON
JavaScript Object Notation, or JSON for short, is a really handy way to to send, receive, and access complex data objects.
Read more about JSON here on the Mozilla Developer Network
// Once request has loaded...
xhr.onload = function() {
    // Parse the request into JSON
    var data = JSON.parse(this.response);

    // Log the data object
    console.log(data);

    // Log the page objects
    console.log(data.query.pages)

    // Loop through the data object
    // Pulling out the titles of each page
    for (var i in data.query.pages) {
        console.log(data.query.pages[i].title);
    }
}
Send the HTTP response asynchronously
We will asynchronously send our request the the Wikipedia API server so that any code below the request can continue to run, while the request is being processed in the background.
// Send request to the server
xhr.send();
Generally speaking, when dealing with API calls, asynchronous requests are the preferred method.
Synchronous requests block the execution of code which creates "freezing" on the screen and an unresponsive user experience.
Read the full MDN article here.
Entire Code Snippet
That's essentially all there is to it! 👏👏👏 If everything worked correctly, our application should log 5 Wikipedia article titles about the New England Patriots to our browser console. Try messing around with the New_England_Patriots part of the API endpoint and see what happens. You can also try dynamically changing this part of the endpoint to populate something that a user types in to an input field if you're feeling daring.
//Create a new object to interact with the server
var xhr = new XMLHttpRequest();

var url = "https://en.wikipedia.org/w/api.php?action=query&origin=*&format=json&generator=search&gsrnamespace=0&gsrlimit=5&gsrsearch='New_England_Patriots'";

// Provide 3 arguments (GET/POST, The URL, Async True/False)
xhr.open('GET', url, true);

// Once request has loaded...
xhr.onload = function() {
    // Parse the request into JSON
    var data = JSON.parse(this.response);

    // Log the data object
    console.log(data);

    // Log the page objects
    console.log(data.query.pages)

    // Loop through the data object
    // Pulling out the titles of each page
    for (var i in data.query.pages) {
        console.log(data.query.pages[i].title);
    }
}
// Send request to the server asynchronously
xhr.send();
Checkout My Wikipedia API Project Here
Hopefully you found this to be a helpful tutorial on using the Wikipedia API! Click here to see how I used the Wikipedia API, or click here to view my other work! 👨💻
Sponsored by Sendpoint.io
Looking for a Free Contact Form Solution?
If you're a developer that's creating static sites, then setting up a complete form backend for your client or side-project is way more annoying than it has to be.
That's what Sendpoint.io is for.
The Simple Form API that's completely FREE! Start receiving form submissions in under 60 seconds.
Use the beautiful Sendpoint.io dashboard to view and analyze all of your form data. All of this in 3 easy steps. 1. Register, 2. Create a form, 3. Add your unique sendpoint to your forms action attribute. That's it!
Don't waste time setting up a form backend. Get started today for free!
Stay Tuned 📺
Shoot me an email at [email protected] with any questions. If you're enjoying my posts, please click here 📬 or subscribe below 👇!
Help us improve our content